How To: Resin Coasters 🌺
- Christina Maresca
- Jun 3, 2023
- 2 min read
Updated: Sep 20, 2023

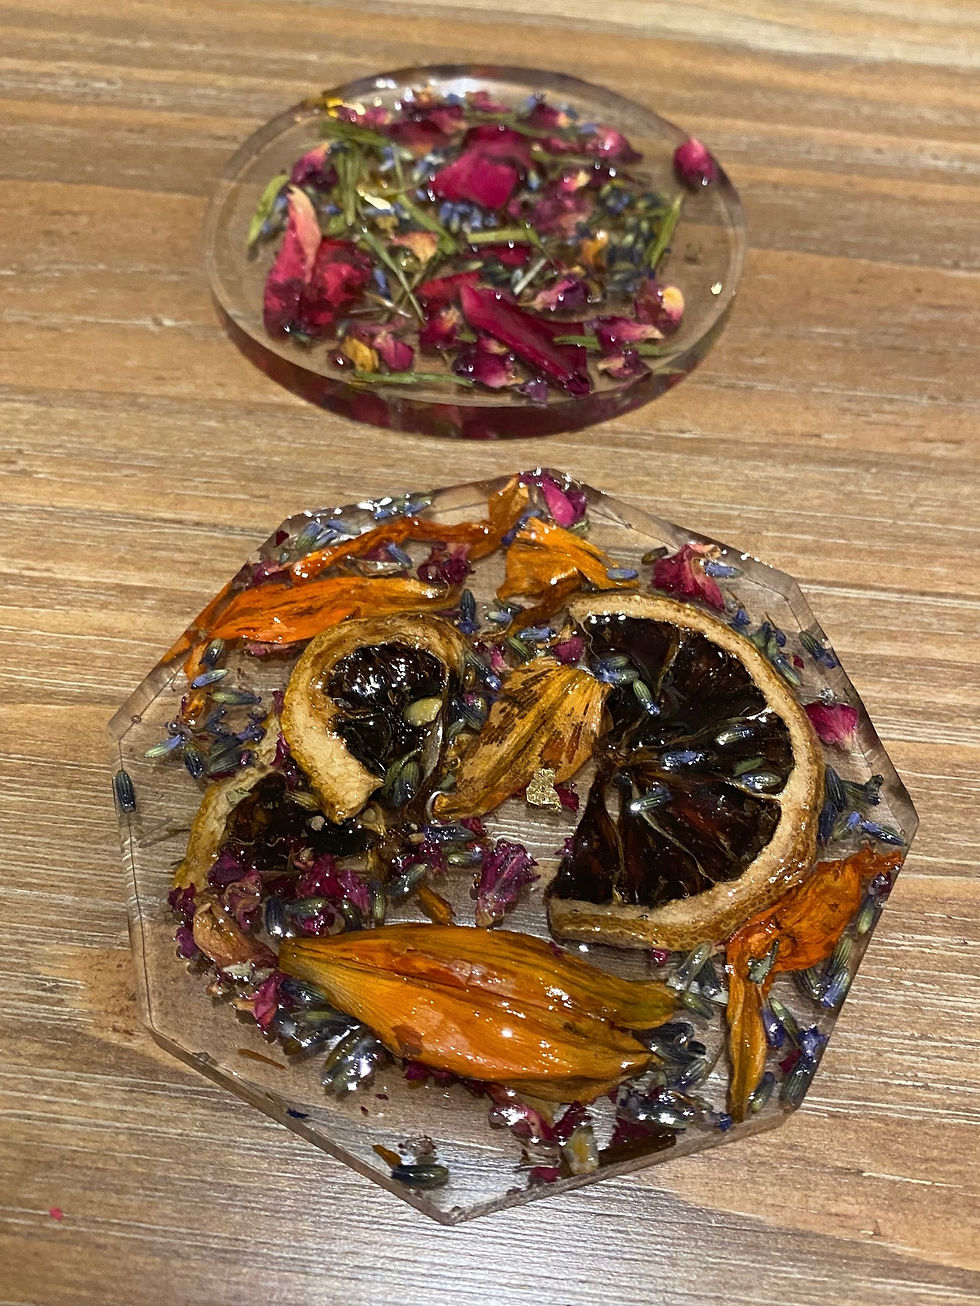
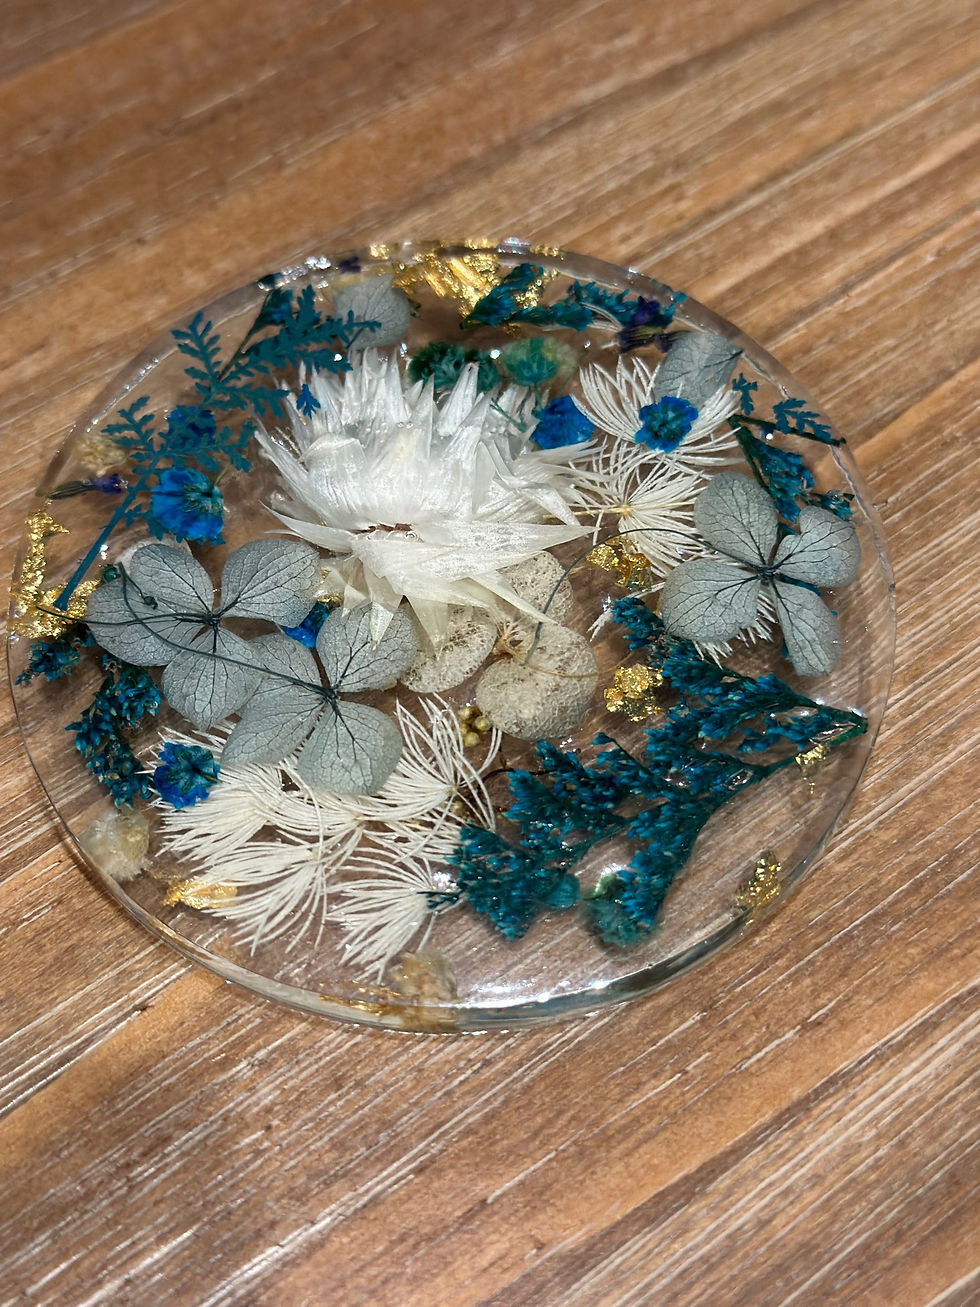
Our arts & crafts group made these beautiful floral resin coasters in about 1 hour! Super simple and a perfect beginner craft to try at home.
What we used:
Epoxy resin (note - you only need about 5 oz of each formula for 3 coasters so you can buy something much smaller if you're only making a few coasters)
Disposable cups and something to mix with (like popsicle sticks)
Optional: gold flakes, tweezers for placing flowers and gloves to keep your hands dry
Step 1: Spray your molds with the release spray and let air dry for a few minutes.
Step 2: While the molds are drying, mix about 5 oz of each resin formula at a 1:1 ratio SLOWLY for about 5 mins. The slower you mix, the less air bubbles you'll have
Step 3: Pour the mixture just enough so it covers the bottom of one of your coaster molds. Make sure it's completely covered on the bottoms and sides
Step 4: Place your flowers, gold flakes and whatever else you choose in the mold. Make sure to cover all the spaces you want covered (like the edges) and push down any flowers that are sticking out
Step 5: Then cover the flowers with enough mix so that it fills to the top. Some of your flowers may move but use the stick to push it back in place. Repeat all steps for the remaining 2 coasters.

Store your coasters on a flat surface away from any pets or debris that may be able to get in. I placed mine in my bathroom and kept the door closed while it dried. It takes about 24 hours to completely dry and once it's ready you can take it out of the mold!
We completed this from start to finish in about 60 minutes. This is a great project that makes for some nice table decor or handmade gifts!


Comments